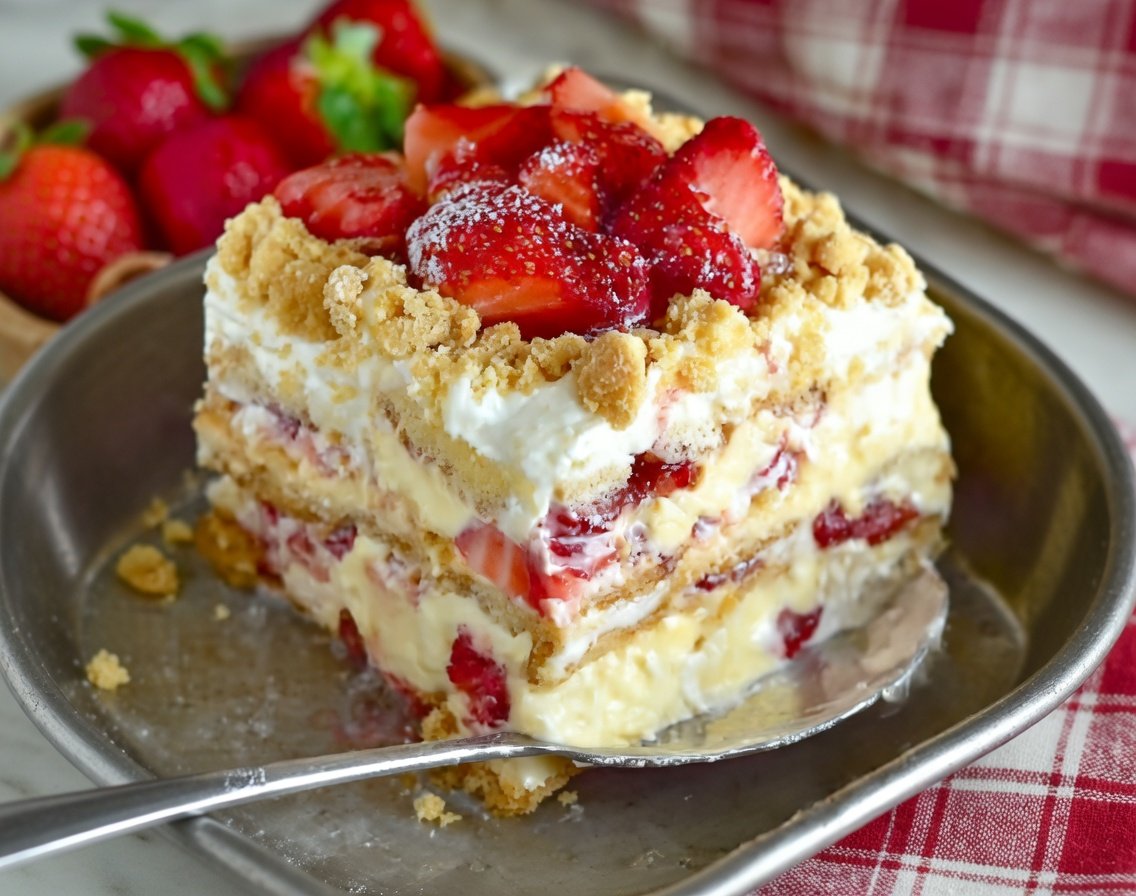
There’s something beautifully nostalgic and comforting about a Strawberry Icebox Cake. It’s the kind of dessert that looks impressive, tastes indulgent, and yet is incredibly easy to make. Best of all, it doesn’t require an oven—making it the perfect sweet treat for warm days, last-minute gatherings, or when you simply want a delicious dessert without much effort.
In this comprehensive guide, we’ll walk you through how to make a show-stopping Strawberry Icebox Cake from scratch, complete with homemade whipped cream, layers of fresh strawberries, and buttery graham crackers.
Why You’ll Love This Recipe
-
No-Bake: Perfect for hot days or when you want to avoid turning on the oven.
-
Only 6 Main Ingredients: Simplicity at its finest.
-
Customizable: Add other berries, swap in flavored cream cheese, or use different cookies.
-
Make-Ahead Friendly: Ideal for parties—prep it the night before and let it set in the fridge.
Ingredients
Here’s what you’ll need to make a classic Strawberry Icebox Cake that serves 12 generous slices.
For the Layers:
-
3 cups heavy whipping cream (chilled)
-
1 cup powdered sugar
-
1 teaspoon vanilla extract
-
8 ounces cream cheese, softened
-
2 pounds fresh strawberries, hulled and thinly sliced
-
1 ½ boxes graham crackers (about 18 full sheets)
Optional Garnish:
-
Extra whipped cream
-
Whole strawberries
-
Crushed graham crackers
-
Mint leaves
Kitchen Tools Needed
-
Electric hand mixer or stand mixer
-
Mixing bowls
-
9×13-inch baking dish or glass pan
-
Spatula
-
Knife & cutting board
Step-by-Step Instructions
Step 1: Prepare the Whipped Cream
-
In a large bowl, pour in the chilled heavy whipping cream.
-
Add powdered sugar and vanilla extract.
-
Beat on high speed until stiff peaks form (about 3-5 minutes). Set aside.
Tip: Place the bowl and beaters in the freezer for 10 minutes before whipping cream for best results.
Step 2: Make the Cream Cheese Layer
-
In a separate bowl, beat the softened cream cheese until smooth and fluffy.
-
Gently fold in half of the prepared whipped cream mixture using a spatula until well combined.
-
Reserve the remaining half of the whipped cream for topping.
Step 3: Slice the Strawberries
-
Rinse and hull the strawberries.
-
Slice them thinly—uniform slices make for a better presentation and even layering.
Step 4: Assemble the Layers
-
In your 9×13-inch dish, spread a small layer of the cream cheese mixture on the bottom. This helps anchor the first layer of graham crackers.
-
Add a single layer of graham crackers to cover the base. Break some as needed to fit.
-
Spread a thick layer of the cream cheese mixture over the graham crackers.
-
Add a generous layer of sliced strawberries.
-
Repeat the layers: graham crackers → cream cheese mixture → strawberries. Continue until you run out of ingredients, finishing with strawberries on top.
Step 5: Chill in the Refrigerator
-
Cover the dish tightly with plastic wrap or foil.
-
Refrigerate for at least 6 hours, but ideally overnight. This gives the graham crackers time to soften and absorb the flavors.
Serving Suggestions
-
Serve cold, straight from the fridge.
-
Top with a fresh dollop of whipped cream and a strawberry slice.
-
Dust with crushed graham crackers or drizzle with strawberry syrup for added flair.
Tips for Success
1. Let It Chill Long Enough
The longer the cake chills, the better the layers will meld. Overnight is best for the perfect slice.
2. Use Ripe, Sweet Strawberries
Fresh, juicy strawberries make a huge difference in flavor. Avoid underripe or overly mushy berries.
3. Stabilize Whipped Cream (Optional)
For longer shelf life, you can add 1 tablespoon of cornstarch or instant vanilla pudding mix to the whipped cream during beating to help stabilize it.
4. Use a Serrated Knife to Slice
A clean, sharp serrated knife makes it easier to slice through the soft layers without smushing them.
5. Make It Your Own
-
Add blueberries or raspberries for a patriotic red, white, and blue version.
-
Swap out graham crackers for vanilla wafers, biscoff cookies, or shortbread.
-
Use lemon zest in the cream layer for a citrusy twist.
Make-Ahead and Storage
-
Make Ahead: Can be made up to 2 days in advance.
-
Refrigerator: Store covered in the fridge for up to 4 days.
-
Freezer: Freeze leftovers for up to 1 month. Let thaw in the refrigerator before serving.
Calorie Information (Per Serving)
Estimated for 12 servings
-
Calories: 310 kcal
-
Total Fat: 21g
-
Saturated Fat: 13g
-
Cholesterol: 65mg
-
Sodium: 180mg
-
Carbohydrates: 25g
-
Fiber: 1g
-
Sugar: 17g
-
Protein: 4g
Note: Nutritional values may vary based on specific brands and exact quantities used.
Pairing Ideas
-
Beverages: Serve with a glass of chilled rosé, lemonade, or sparkling water with mint.
-
Other Desserts: Pairs beautifully with mini lemon tarts or a tray of sugar cookies for a dessert table.
-
Brunch Add-on: This cake makes a fabulous addition to brunch, pairing well with quiches and fruit salad.
Frequently Asked Questions
Can I use Cool Whip instead of homemade whipped cream?
Yes, you can use 2 (8-ounce) tubs of Cool Whip if you’re short on time. It won’t be as rich or fluffy but works well for quick prep.
Do I have to use cream cheese?
Not necessarily. You can substitute it with mascarpone or even sweetened Greek yogurt for a tangier, lighter twist.
Can I make it gluten-free?
Absolutely. Simply use gluten-free graham crackers or cookies.
Final Thoughts
This Strawberry Icebox Cake is one of those crowd-pleasing, foolproof desserts that will have everyone asking for seconds—and the recipe. It’s versatile, elegant enough for a special occasion, and simple enough for weekday cravings. Whether you’re hosting a summer party or just want to treat yourself, this cake delivers every single time.