Easy Cherry Cheesecake is Perfect for Young Chefs
I love Cherry Cheesecake! So much so that I had it served at my wedding reception. My love for it started the first time I tasted this No-Bake Cherry Cheesecake recipe when I was in Middle School. I’m sure my mom got her inspiration from this popular No-bake Cheesecake recipe (But this version is better).
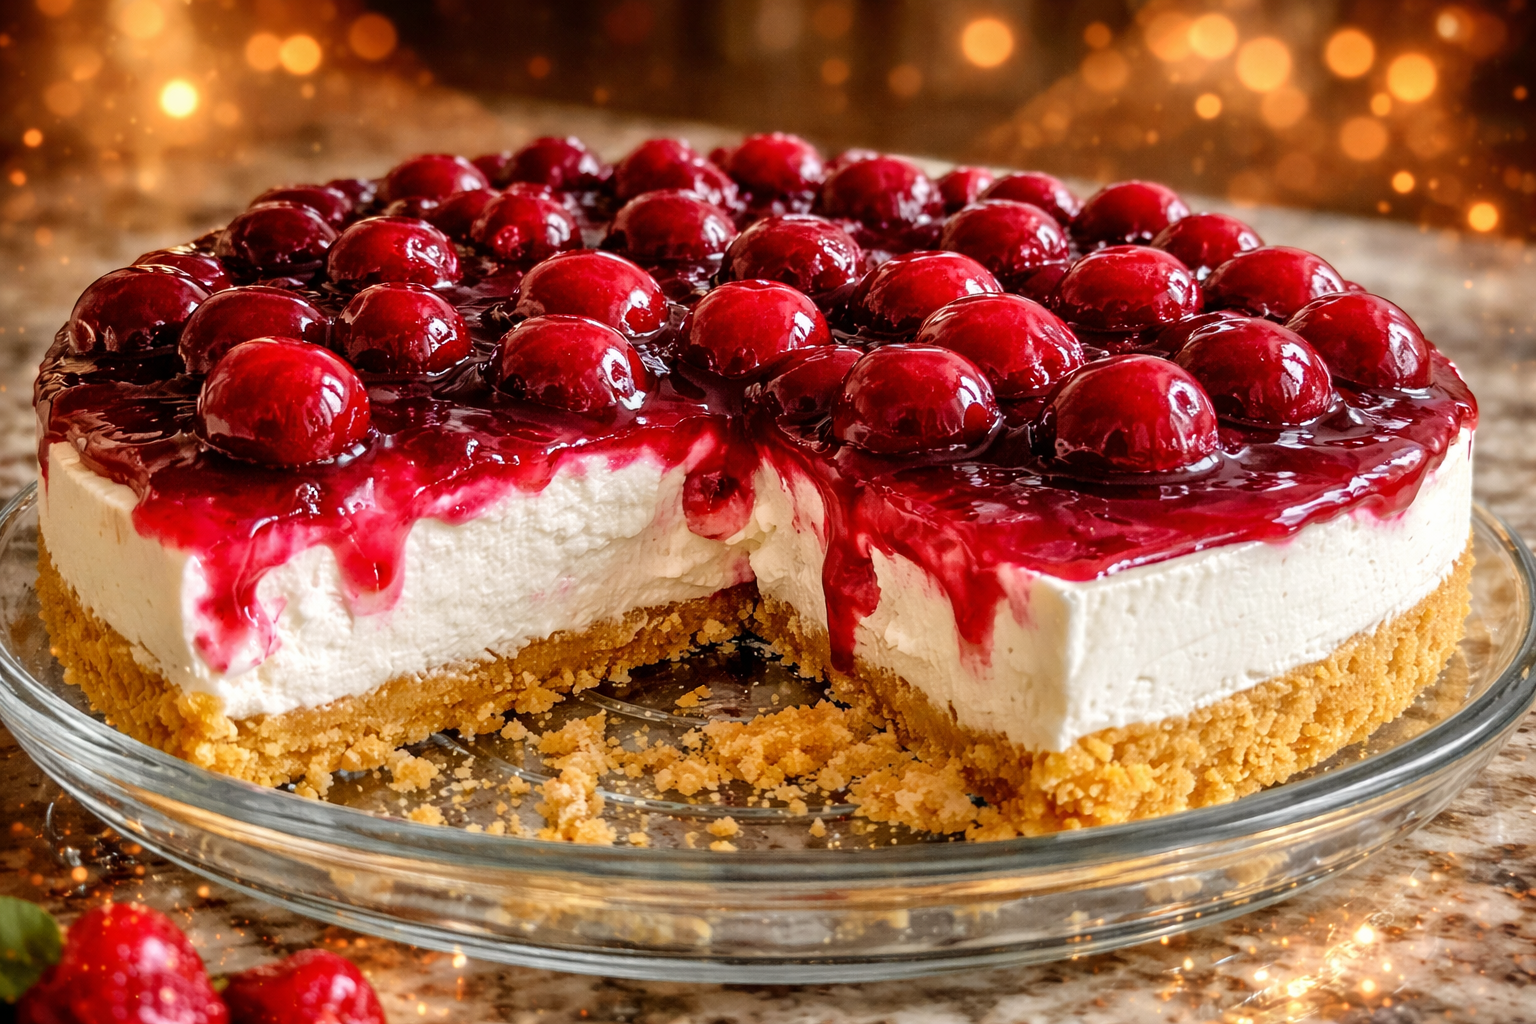
UPDATE 8-8-22: If you prefer a thicker cheesecake you may want to double the recipe. The proportions as is are how my mom made it. I grew up loving the ratio of filling to crust being thinner. Others have commented that they have had a hard time getting the filling to cover the entire cheesecake. I always only use one can of cherry pie filling. I use a spoon to scoop out the cherries and put them down first, spaced equally apart. Then I go back and carefully fill in the white parts that are still showing with the syrup-stuff left in the can.
My mom was a middle school Home Economics Teacher. One of the recipes she always had her 8th-grade Home Ec class make was this No-Bake Cherry Cheesecake. The weird thing is that she never made any kind of cheesecake at home. In fact, I never tasted this recipe until I was an 8th grader in her Home Ec class.
More Delicious Cream Cheese Desserts
- Chocolate Lasagna with Shortbread Crust
- Easy Cheesecake Squares with Berry Sauce
- Pumpkin Chocolate Chip Cheesecake Bars
- Oreo Cheesecake Bites
- Pineapple Dream Dessert
- Easy Chocolate Cream Cheese Truffles

There was no more hiding it after that. Once I had my first taste in her class, I started making No-Bake Cherry Cheesecake all the time and for any occasion I could think of. Yep, if you have an 8th grader, you can put them in charge of making this cheesecake for your next family function or treat night. It’s the perfect recipe for teenagers to try out their culinary skills.
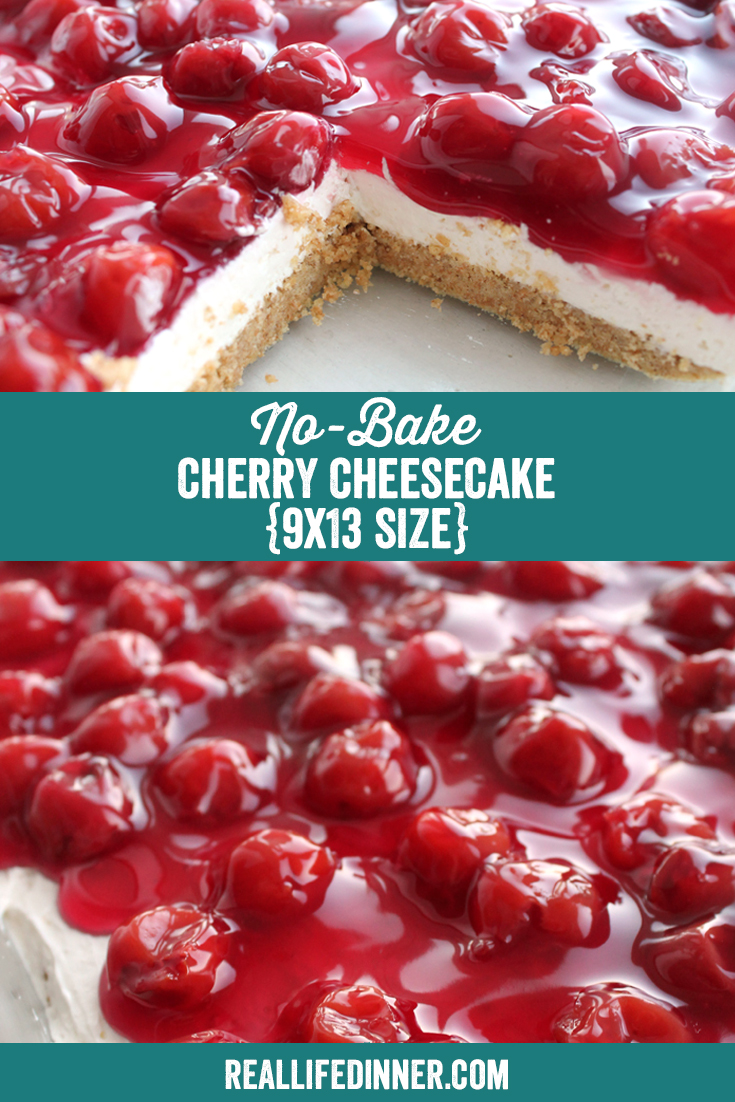
how to make no-bake cherry cheesecake in a 9×13 dish
- In a medium-sized bowl, combine the crushed graham crackers and granulated sugar. Stir until combined.
- Add the melted butter. Mix well until all crumbs are coated with butter and mixture sticks together when pressed.
- Next, with cooking spray, lightly spray the bottom of a 9×13 glass baking dish. Press graham cracker crumb mixture evenly into the bottom of the dish. Set aside.
- In a medium-sized bowl, use a hand mixer to beat the softened cream cheese slightly.
- Add powdered sugar and vanilla. Beat for one minute or until there aren’t any lumps.
- Next, add half of the Whipped Topping and mix until there are no lumps. Add the rest of the Whipped Topping and mix until well-blended.
- Evenly space dollops of the cream cheese mixture over the crust, and then gently spread and evenly smooth out with the back of a soup spoon over entire crust.
- Add the cherry pie filling by spooning it out slowly and evenly over the top of the whole cheesecake.
- Cover dessert with a tight-fitting lid or plastic wrap.
- Refrigerate at least two hours or until ready to serve.

You get to sit back and reap the benefits of your teenager’s labor. See, you knew there was a reason you decided to have kids. With a big family like mine (9 of us altogether, counting my parents) making cheesecake in a 9×13 pan was a must, if you hoped to get a piece all to yourself. If you have a smaller family, you can make this recipe using two small pie tins, and then share one with a friend.
Making cheesecake in a 9×13 pan is also perfect for taking it to potlucks or any place there will be a hungry crowd.
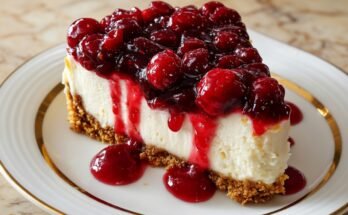
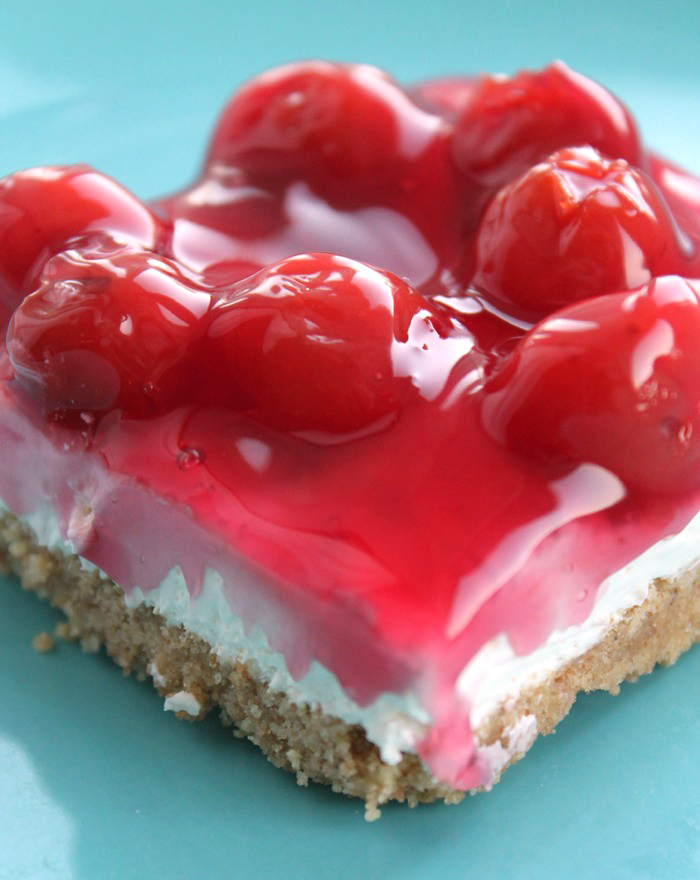
One thing people mention when they eat this cheesecake is how they love that it isn’t overly “cheesy” and the filling is so light and smooth. I agree. The smooth filling topped with the tart and sweet cherry topping all resting on a buttery, sweet graham cracker crust makes for a perfect bite.
It’s the kind of bite you just keep coming back for, which makes you extra happy you made it in a 9×13 pan.
Tips for making No-Bake Cherry Cheesecake
- Use softened cream cheese.
- Make sure the Whipped Topping is not frozen.
- Gently spread cream cheese mixture over crust.
- Slowly spoon and spread cherry pie filling on top.
Chef’s Tools for No-Bake Cherry Cheesecake:
- Mixing Bowl
- Wooden Spoon
- Measuring Cups
- 9×13 Glass Baking Dish
- Measuring Spoons
- Hand Mixer

- 12 large graham crackers, crushed into tiny crumbs
- ⅓ cup granulated sugar
- 9 Tbsp salted butter, melted
- 1 (8 oz) package cream cheese, softened
- 1 (8 oz) tub of Whipped Topping
- ½ cup powdered sugar
- ½ tsp vanilla extract
- 1 can cherry pie filling
- In a medium-sized bowl, combine the crushed graham crackers and granulated sugar. Stir until combined.
- Add the melted butter. Mix well until all crumbs are coated with butter and mixture sticks together when pressed.
- Next, with cooking spray, lightly spray the bottom of a 9×13 glass baking dish. Press graham cracker crumb mixture evenly in the bottom of the dish. Set aside.
- In a medium-sized bowl, use a hand mixer to beat the softened cream cheese slightly before adding the powdered sugar and vanilla. Add powdered sugar and vanilla. Beat for one minute or until there aren’t any lumps.
- Next, add half of the Whipped Topping and mix until there are no lumps. Add the rest of the Whipped Topping and mix until well-blended. The mixture will be a little thick.
- Evenly space dollops of the cream cheese mixture over the crust, and then gently spread and evenly smooth out with the back of a soup spoon over entire crust. Spreading the mixture in this manner will help keep the crust from pulling up.
- Once cream cheese layer is evenly spread on top of the crust, add the cherry pie filling by spooning it out slowly and evenly over the whole cheesecake. This will help keep the cherry topping layer from mixing into the cream cheese layer. It also evenly spaces the cherries out, so they’re not all on one side of the dessert.
- After placing the topping on, cover dessert with a tight-fitting lid or plastic wrap. Refrigerate for at least two hours or until ready to serve.