My dears, if you like the recipe please leave a comment!
𝗜𝗡𝗚𝗥𝗘𝗗𝗜𝗘𝗡𝗧𝗦:
Cookie Crust Layer
● 24 Oreos, crushed (about 2 sleeves)
● 6 tbsp salted butter, melted
Cheesecake Layer
● 8 oz cream cheese, softened
● 1/4 cup granulated sugar
● 1 tsp vanilla extract
● 8 oz Cool Whip Original whipped topping, thawed
Pudding Layer
● 3.4 oz package vanilla instant pudding
● 1 3/4 cup cold milk
● A few drops pink food coloring (adjust to desired shade)
Topping
● 8 oz Cool Whip Extra Creamy whipped topping, thawed
● 1/4 cup mini chocolate chips (optional)
● Pink pearl sprinkles
● Pink heart sprinkles
𝗜𝗡𝗦𝗧𝗥𝗨𝗖𝗧𝗜𝗢𝗡𝗦:
1: Prepare the cookie crust: Crush the Oreo cookies in a food processor or place them in a sealed zip bag and crush them with a rolling pin until they become fine crumbs. Melt the butter and mix it thoroughly with the cookie crumbs until the mixture resembles wet sand. Press the mixture firmly into the bottom of a 9×13 baking dish to create an even crust layer. Place the dish in the refrigerator so the crust can chill and firm up.
2: Make the cheesecake layer: In a large mixing bowl, beat the softened cream cheese, granulated sugar, and vanilla extract together until the mixture becomes smooth, creamy, and free of lumps. Gently fold in the thawed Cool Whip whipped topping using a spatula until everything is fully combined and fluffy.
3: Add the cheesecake layer: Spread the cheesecake mixture evenly over the chilled Oreo crust, smoothing the surface with a spatula so the layer is uniform. Return the baking dish to the refrigerator to keep the layers cool while preparing the pudding layer.
4: Prepare the pudding layer: In a separate mixing bowl, whisk together the vanilla instant pudding mix and cold milk until the mixture begins to thicken. Add a few drops of pink food coloring and mix until you reach a soft pink color that matches the dessert theme. Use a hand mixer if needed to whip the mixture until it becomes thick and creamy.
5: Layer the pudding: Carefully spread the pink pudding mixture over the cheesecake layer in the baking dish, gently smoothing it so it sits evenly on top without mixing into the layer below. Place the dessert back in the refrigerator and chill for at least three hours so the layers can fully set and become firm.
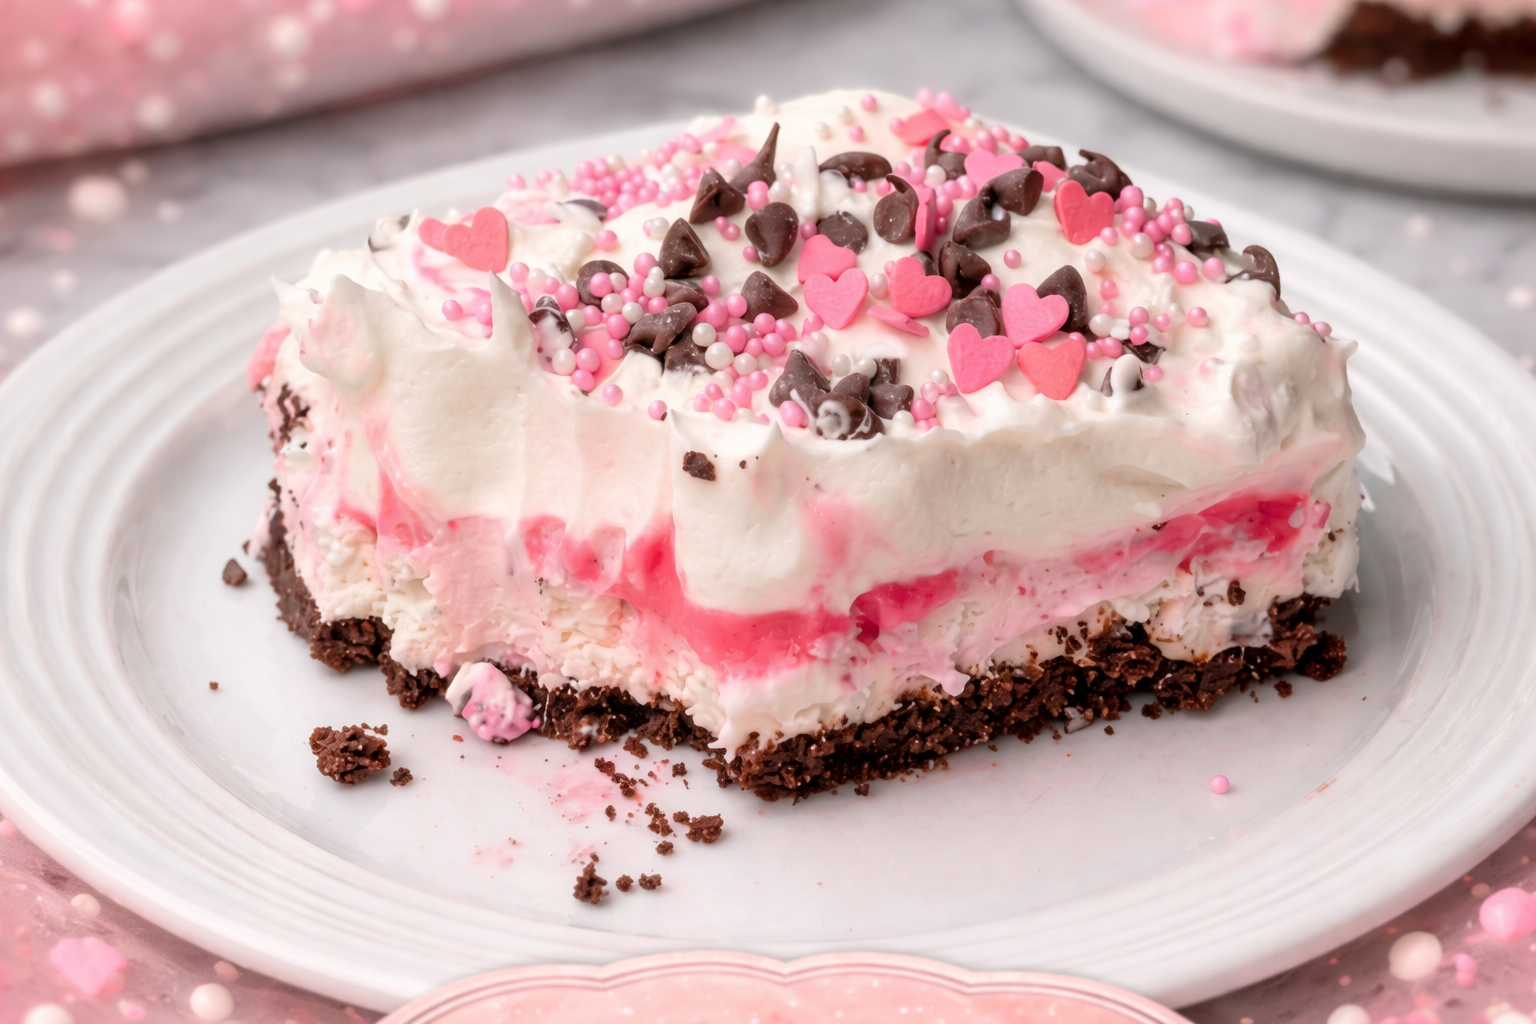
6: Add the topping: Once the dessert has set, remove it from the refrigerator and spread the extra creamy whipped topping evenly across the pudding layer, creating a smooth fluffy top. Sprinkle mini chocolate chips, pink pearl sprinkles, and pink heart sprinkles over the whipped topping for a sweet and decorative finish that matches the pink theme of the dessert.
This dessert can easily be made up to 2 days in advance, which makes it a perfect choice for parties, gatherings, or busy celebrations. Simply prepare the dessert, cover it well, and store it in the refrigerator until you are ready to serve.
If you need to store it for a longer period, you can freeze the dessert for up to 1 month. To freeze, cover the dish tightly with plastic wrap and then aluminum foil to protect it from freezer burn. When you are ready to enjoy it, thaw the dessert overnight in the refrigerator before serving.
You can also easily change the theme of this dessert by switching the sprinkle colors. Pink hearts and pearls create a sweet romantic look, pastel sprinkles make it perfect for spring celebrations, and colorful sprinkles can turn it into a fun birthday treat.
Enjoy!